Learn how to make your own hair system template. The key to a custom made hair system is it's fit, the base must correspond to the person’s head shape and original hairline recession. Creating a template can be done by one of the following methods.
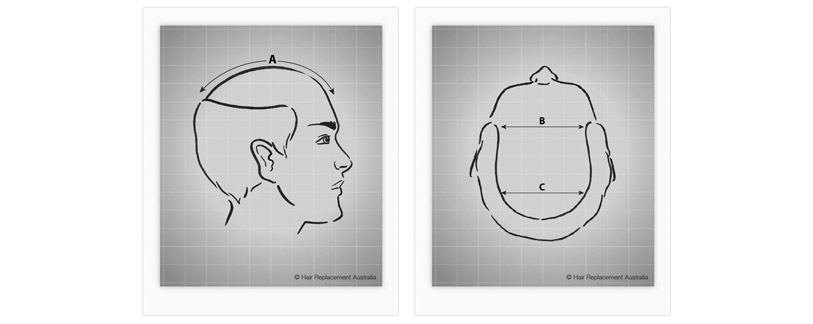
Measurements
-
A - Front to Back.
-
B - Temple to Temple.
-
C - Crown to Crown.
NOTE - All measurements need to be taken in inches.
Hair System Fitting Cap
"Do-it-Yourself" hair replacement fitting cap. Place the see through fitting cap onto your head, draw with a black permanent marker around the area you would like as the size of your hair replacement system and cut with scissors around the outline.
How to Make a Hair System Template
-
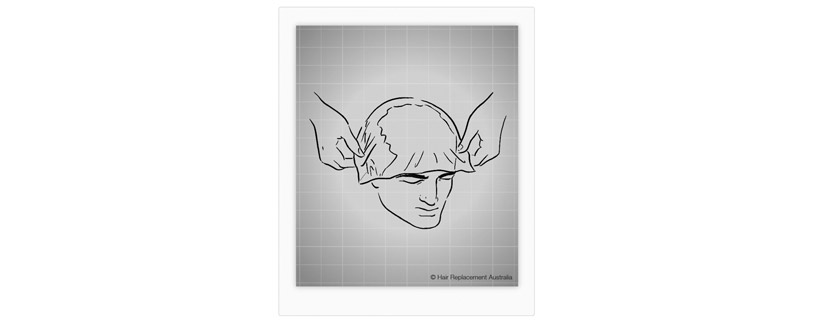
Place a piece of plastic wrap (Glad Wrap) on your head.
-
Firmly holding the wrap on your head, use clear sticky tape to contour your head shape.
-
Starting at your forehead, place the sticky tape on the plastic wrap over your template.
-
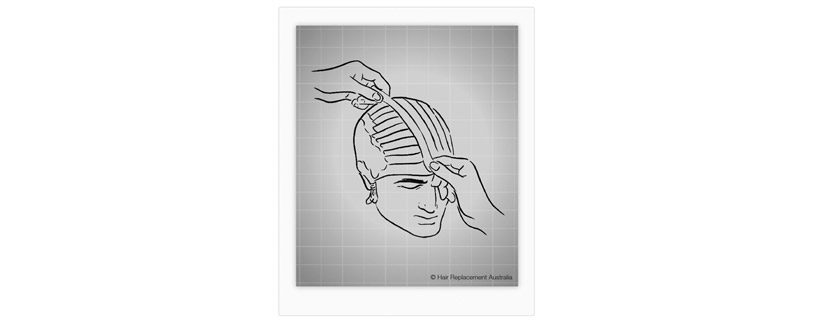
Apply 3 layers of sticky tape from front to back, side-to-side and then front to back again.
-
The sticky tape will lock the plastic wrap into a permanent transparent hair system template.
-
With a permanent marker outline the perimeter of your template whilst on your head.
-
Your front hairline should be 3 or 4 fingers from your brow line.
-
Indicate on your template any crown, hair part or desired hairstyle.
-
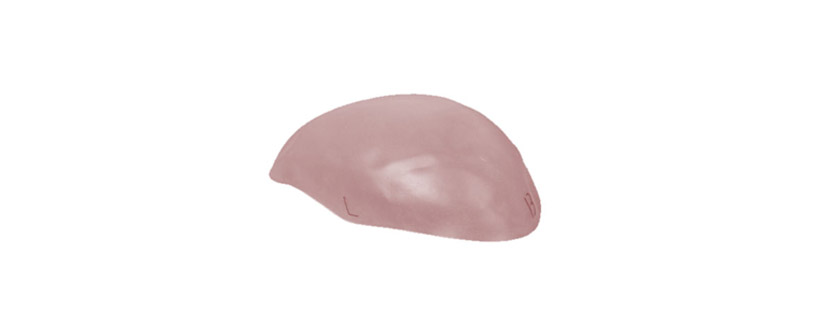
Write your name at the back of the template and indicate which is the front, back, left and right.
-
Now place one more layer of tape over the template. This should seal and protect the markings.
-
Remove the template from your head and with scissors cut around the outline perimeter.
-
Place the template back on your head to ensure it's the correct size and shape.
Hair Systems - Making a Full Cap Template
Learn how to make your own full cap hair system template. The key to a custom made hair system is it's fit, the base must correspond to the person’s head shape and original hairline recession. Creating a full cap template can be done by following these instructions.
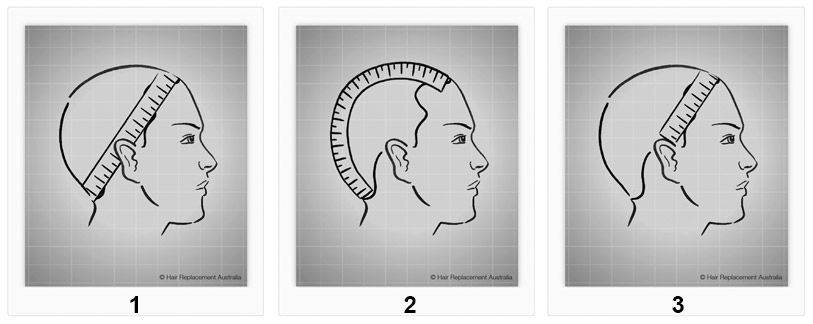
1. CIRCUMFERENCE - Starting at the center of the front hairline, place the measuring tape flat against your head and completely guide it around your head. Position the measuring tape just above the ear, down towards the nape area and back around to the center of the front hairline.
2. FRONT TO NAPE - Measure your head from the mid forehead point to the mid nape point of your neck. The nape is located where your neck bends if you were to tilt your head back and look up. This is where the bottom of the wig should sit to prevent shifting when the head tilts. Starting at the mid front hairline measure backwards across the top of your head and down the back to the mid nape area.
3. EAR TO EAR ACROSS FOREHEAD - Place the tape right above one ear and angle the tape so that it can be guided along your forehead's natural hairline until reaching the top of the other ear.
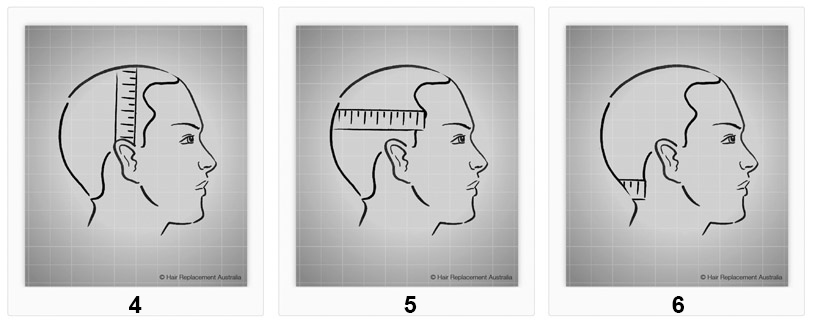
4. EAR TO EAR OVER THE TOP OF THE HEAD - Place the tape against your head at the top edge of your ear and go directly across the top of your head to the top edge of the opposite ear.
5. TEMPLE TO TEMPLE OVER THE BACK OF THE HEAD - Place the tape edge at one temple point and go all the way around the back of the head to the other temple point.
6. NAPE OF NECK - Place the measuring tape at the lowest point of your neck hairline and measure across the neck to the opposite side. This will measure the width of your neck.
 Cart
(
Cart
(